
Uncategorized
Best Practices For Tiling A Floor

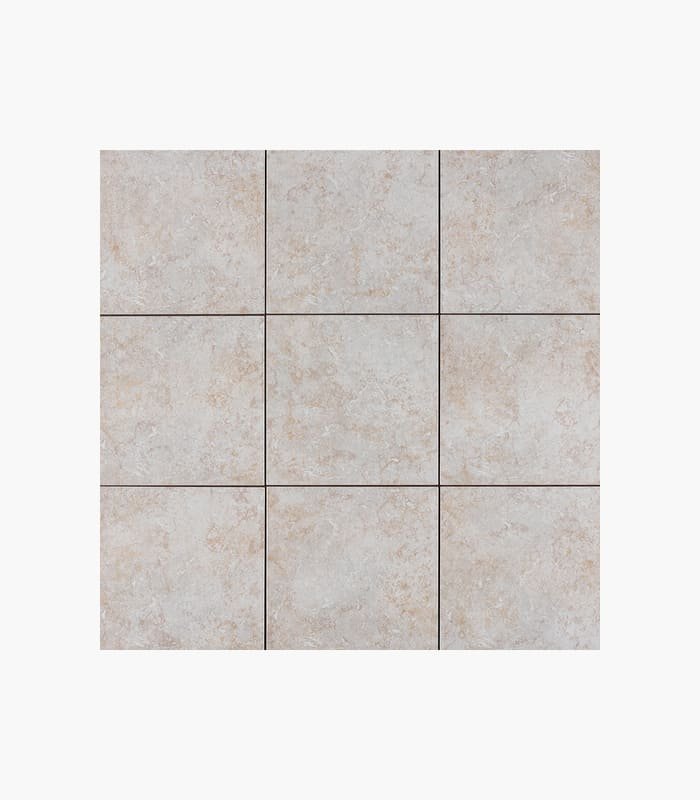
Tiling a floor properly is one of the biggest factors in how long the floor lasts and how professional it looks. Whether you’re installing ceramic, porcelain, or natural stone tile, the preparation and layout are just as important as the tile itself.
1. Start With a Solid Subfloor
The floor must be:
- Flat
- Clean
- Dry
- Structurally sound
Tile does not tolerate movement well. Even slight flexing can lead to cracked grout or broken tiles.
Best practices:
- Use cement backer board or an uncoupling membrane over wood subfloors.
- Repair squeaks and loose areas before tiling.
- Check flatness with a long level or straightedge.
- For large-format tile, floors should typically vary no more than 1/8″ over 10 feet.
2. Choose the Right Tile for the Space
Different rooms require different tile characteristics.
Good options:
- Porcelain tile → high durability and water resistance
- Ceramic tile → budget-friendly and easier to cut
- Natural stone → premium appearance but requires sealing
Consider:
- Slip resistance for bathrooms and entryways
- PEI rating for traffic durability
- Tile size relative to room dimensions
Popular Floor Tile Styles


3. Plan the Layout Before Installing
Never start tiling blindly from one wall.
Best practices:
- Find the center of the room first.
- Dry-lay several rows to preview the layout.
- Avoid tiny sliver cuts along walls.
- Keep grout lines symmetrical and visually balanced.
Common layout patterns:
- Straight lay
- Brick/running bond
- Herringbone
- Diagonal
Common Tile Layout Patterns


4. Use the Correct Mortar and Trowel
The wrong mortar or trowel size causes poor adhesion and hollow spots.
Mortar tips:
- Use modified thin-set for most installations.
- Use large-format tile mortar for oversized tiles.
- Mix mortar exactly per manufacturer specs.
Trowel size matters:
- Small tile → smaller notch
- Large tile → larger notch for proper coverage
Back-buttering larger tiles improves bond strength.
5. Maintain Consistent Grout Lines
Use:
- Tile spacers
- Tile leveling systems for large-format tiles
This helps prevent:
- Uneven tile edges (lippage)
- Crooked grout lines
- Height differences between tiles
Tile Leveling and Spacing Systems


6. Check Coverage Constantly
Lift tiles periodically to verify mortar coverage.
Recommended coverage:
- Interior dry areas: ~80%
- Wet areas or heavy traffic: 95%+
Voids under tile can lead to:
- Cracking
- Loose tiles
- Water intrusion
7. Allow Proper Movement Joints
Tile expands and contracts.
Do not grout tight against:
- Walls
- Cabinets
- Structural transitions
Use:
- Expansion gaps
- Flexible caulk in movement areas
This is especially important for:
- Large rooms
- Sunrooms
- Heated floors
8. Grout and Seal Correctly
Grouting tips:
- Wait until mortar cures fully.
- Clean grout haze quickly.
- Don’t overwater during cleanup.
Seal if necessary:
- Natural stone
- Cementitious grout
- Some porous tile
Epoxy grout provides excellent stain resistance in kitchens and commercial spaces.
9. Use Proper Tools
Professional-looking tile work depends heavily on good tools.
Recommended tools:
- Wet saw
- Laser level
- Tile cutter
- Mixing paddle
- Rubber grout float
- Tile leveling clips
10. Don’t Rush the Cure Time
Avoid walking on fresh tile too early.
Typical cure timelines:
- Light foot traffic: 24 hours
- Full cure: 72 hours or more
Heavy furniture and appliances should wait until full cure.
Common Mistakes to Avoid
- Tiling over an uneven floor
- Using premixed adhesive on floors
- Skipping movement joints
- Poor mortar coverage
- Starting layout from one wall
- Using the wrong grout width
- Walking on tile too soon
Best Rooms for Tile Flooring
Tile performs especially well in:
- Kitchens
- Bathrooms
- Mudrooms
- Laundry rooms
- Basements
- Commercial spaces
Because of its durability and moisture resistance, tile is one of the most cost-effective long-term flooring systems available.